
A full-scale home renovation is a complex orchestration of structural engineering, mechanical integration, and architectural finishing. For homeowners on a gut-to-finish project, the difference between a seamless build and a financial drain often hinges on strategic sequencing of specialized trades. Tackling a remodel without adherence to the correct order leads to compromised materials, damaged finishes, and increased labor costs. When finishing crews overlap with rough-in laborers or when exterior envelopes are left vulnerable, the entire project is at risk.
Successful large-scale remodels rely on the Critical Path Method, a project management strategy dictating that certain foundational tasks must be completed and inspected before subsequent ones begin. In residential remodeling, this involves a strict hierarchy: stabilizing the structural skeleton, securing the exterior weather barrier, roughing in mechanical utilities, insulating the walls, applying interior surface finishes, and managing the exterior topography. By understanding each trade’s specific roles and scheduling them in chronological order, property owners can avoid the costly need to tear out new work to fix buried infrastructure.
Stabilizing the Structural Skeleton and Overhead Weather Barrier
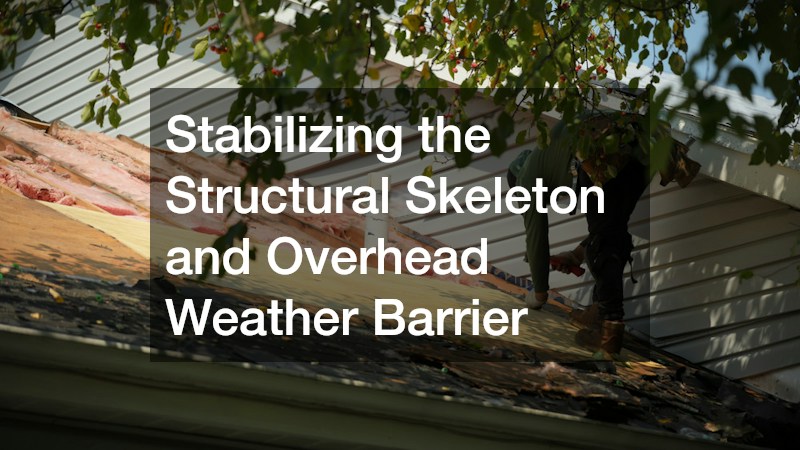
Before aesthetic decisions are made, the house’s structure must be evaluated, reinforced, and sealed against the elements. Altering a floor plan by removing walls for modern, open-concept spaces requires understanding load paths, span capacities, and point loads. Homeowners often underestimate the structural role of partition walls in supporting second-story floor joists or roof trusses. When removing load-bearing walls, the structure’s weight must be securely transferred to the foundation through alternative means.
To safely engineer open spans without compromising the second floor’s integrity, renovations often require timber frame construction services to design, cut, and install heavy wood posts, glulam headers, and exposed truss systems. These specialists set up temporary hydraulic jacking and shoring walls to keep the house level while the new permanent beams are placed. Once the interior structure is stabilized and floor joist deflection is addressed, attention must shift to preventing water intrusion at the structure’s top.
- Stripping Down to the Decking: A complete tear-off of old shingles down to the bare substrate sheathing is mandatory to inspect for dry rot, moisture delamination, and sagging rafters that cannot be seen from the attic.
- Securing the House Envelope: A comprehensive roof installation must occur before any interior drywall, electrical wiring, or finish carpentry begins, as even a minor rainstorm can destroy thousands of dollars of unprotected interior materials.
- Upgrading Defense Layers: Modern roofing requires more than just shingles; it demands high-temperature, self-adhering ice-and-water shields installed along vulnerable eaves, roof valleys, and wall step flashings to prevent wind-driven rain penetration.
- Balancing Attic Ventilation: Proper airflow must be established by balancing soffit intake baffles with continuous ridge vents, which acts to eliminate future ice damming in the winter and extreme heat buildup in the summer.
Fortifying the Exterior Weather Barrier and Entry Corridors
With the overhead canopy secured, the next phase involves wrapping the vertical exterior walls and sealing all foundational entry points. The building envelope is a home’s primary defense against the elements, managing bulk water, controlling vapor transmission, and resisting wind infiltration. Modern building science dictates that exterior cladding should function as a breathable drainage plane. Moisture will inevitably infiltrate behind siding due to wind or capillary action, so underlying materials must be designed to let trapped water escape safely down and out.
Hiring experienced siding contractors who prioritize integrated rainscreen systems, counter-flashing, and vapor-permeable housewraps is superior to those focusing only on cosmetics. A properly installed rainscreen creates an air gap between siding and sheathing, allowing water to drain away while permitting the wood frame to dry. Once primary wall fields are protected, focus must be given to the large holes cut into the framing for entryways.
- Detailing Vulnerable Penetrations: Correct Z-flashing and rigid drip edges must be meticulously placed over window headers, band boards, and ledger boards to divert driving rain completely away from the vulnerable interior wood framing.
- Eliminating Drafts and Structural Deflection: Replacing warped, single-pane entry points with heavy-duty exterior residential doors featuring insulated steel construction, multi-point locking mechanisms, and rot-proof composite jambs will drastically reduce thermal bridging.
- Installing Sill Pan Flashings: Before any exterior entryway is set, custom-sloped sill pan flashings must be installed beneath the thresholds to catch and eject any wind-driven water intrusion before it can rot the wooden subfloors below.
- Balancing Form and Function: Egress sizing requirements dictated by local fire codes must be carefully balanced with historic preservation guidelines or the architectural aesthetic of the surrounding neighborhood.
Modernizing Sub-Wall Utilities and Mechanical Rough-Ins
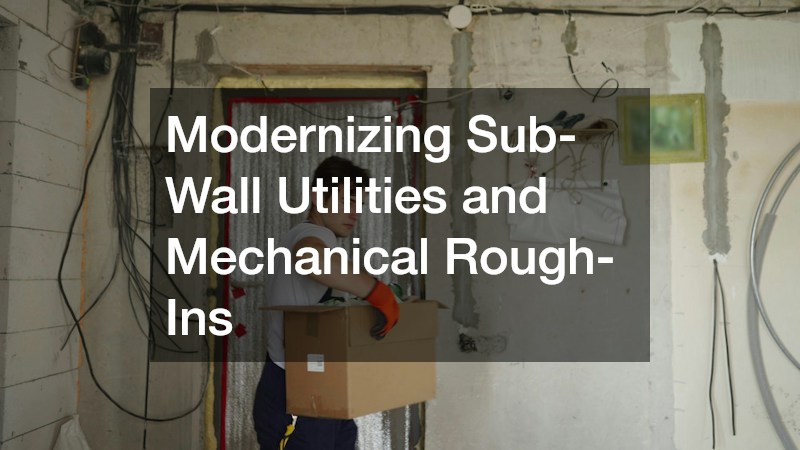
Once the exterior shell is weatherproofed and secured, the renovation enters the rough-in phase. This is when the essential systems are installed inside the open walls before insulation and drywall conceal them. A crucial upgrade during a full renovation is enhancing electrical capacity. Modern households use significantly more power than homes built twenty years ago, and using new high-amperage appliances on old wiring is a fire hazard.
To prevent panel overloads and ensure safety, it’s recommended to work with a residential construction electrician to assess the home’s load demands. This often involves upgrading outdated 100-amp panels to 200- or 400-amp services, installing whole-home surge suppression, and pre-wiring circuits for modern amenities like electric vehicle chargers and induction cooking ranges. At the same time, the hidden plumbing infrastructure must be overhauled to prevent leaks.
- Implementing Code Compliance and Safety: Modern electrical codes require the installation of Arc-Fault Circuit Interrupters to prevent electrical fires and Ground-Fault Circuit Interrupters in all wet zones to prevent severe shocks.
- Mapping Low-Voltage Networks: Before spray-foam insulation seals the wall cavities, all low-voltage wiring for hardwired home automation, network ethernet drops, and centralized security hubs must be meticulously mapped and run through conduit.
- Overhauling Concealed Plumbing Systems: Homeowners should hire a full-scope plumbing service to strip out legacy galvanized steel supply lines and corroded cast-iron drains, replacing them with flexible, freeze-resistant expansion-type piping and modern PVC drain-waste-vent lines.
- Standardizing Drain Slopes: Ensuring the exact correct fixture branch venting and pitch—typically a quarter-inch of fall per horizontal foot on waste lines—is the only way to guarantee silent, clog-free drainage for the life of the home.
- Isolating Water Shut-Offs by Zone: Installing centralized homerun manifold systems allows homeowners to utilize individual shut-off valves for every single bathroom, kitchen fixture, and outdoor hose bib without shutting down the entire house.
Optimizing Indoor Climate Control and Energy Performance

With the electrical and plumbing lines secured, the final mechanical rough-in involves the home’s respiratory system. Indoor climate control in a newly insulated, tightly sealed home operates vastly differently than in a drafty, older structure. A common and expensive mistake during renovations is assuming that a larger air conditioning unit equates to better cooling. In reality, an oversized compressor will rapidly cool the ambient air and shut off before it has the time to extract latent moisture, leaving the home feeling cold but uncomfortably clammy, while also causing premature motor failure due to constant short-cycling.
Right-sizing the heating and cooling capacity requires precise mathematics, not rule-of-thumb square footage estimates. A high-performance hvac installation begins with strict adherence to industry-standard load calculations, specifically Manual J for heat loss and gain, Manual S for equipment selection, and Manual D for duct design. These calculations account for the specific thermal resistance of the new insulation, the solar heat gain coefficient of the newly installed glass, and the exact volume of the living spaces. Furthermore, because a thoroughly renovated home is practically airtight, it requires mechanical intervention to maintain healthy indoor air quality.
- Integrating Advanced Ventilation: To prevent stale air and moisture buildup in heavily insulated envelopes, Energy Recovery Ventilators must be integrated to continuously swap exhausted indoor air with pre-conditioned, filtered outdoor air.
- Eliminating Conditioned Air Leakage: Leaky, uninsulated sheet metal or unanchored flexible ducts must be entirely replaced with rigid supply and return plenums that are meticulously sealed at every single joint with specialized mastic paste.
- Optimizing Static Pressure and Airflow: Ductwork must be engineered to maintain ideal static pressure, ensuring that the air handler motor does not have to strain against extreme resistance to push air to the furthest corners of the home.
- Balancing Return Air Pathways: Dedicated jumper ducts or transfer grilles must be installed across closed bedroom doors to prevent severe room-to-room pressure imbalances that can suck conditioned air out of the home through tiny exterior gaps.
Executing Precision Interior Surfaces and Architectural Coverings
Once the messy, wet trades of drywall taping, mudding, and interior painting have fully cured and dried, the interior environment is finally ready for the precision finishing stages. Introducing sensitive wood materials into a house with high ambient humidity from drying joint compound is a recipe for severe buckling and warping. The environment must be heavily climate-controlled before expensive architectural finishes are delivered. The baseline of a long-lasting interior begins at the subfloor, which must be perfectly prepped to receive the final layer of walkable material.
Proper sequencing dictates scheduling professional flooring installation only after all overhead and wall-based construction tasks are complete, protecting the new surface from dropped tools, rolling scaffolding, and heavy foot traffic. The installers will begin by meticulously grinding down high spots on the joists and applying cementitious self-leveling underlayment to achieve strict flatness tolerances, often requiring a variance of no more than three-sixteenths of an inch over a ten-foot radius. Once the surface is flawlessly smooth, attention must immediately turn to protecting these new investments from the destructive power of direct sunlight.
- Material Moisture Stabilization: Before a single plank is fastened, the moisture content in both the solid hardwood and the underlying subfloors must be thoroughly documented using pinless moisture meters to ensure they have reached equilibrium.
- Managing Expansion Dynamics: Installers must leave precise expansion gaps along the entire baseboard perimeter to accommodate seasonal wood swelling, eliminating the risk of cupping, buckling, and hollow-sounding spots.
- Managing Thermal Gain and Ultraviolet Fading: Specifying custom architectural window treatments such as motorized cellular shades, solar screens, and heavily lined drapery panels is essential to reduce cooling costs during peak afternoon sunlight hours.
- Protecting Interior Investments: Unfiltered ultraviolet light will cause irreversible discoloration to newly finished hardwood floors, custom cabinetry, and fine upholstery; proper solar shading preserves the integrity of these costly materials.
- Integrating Hidden Pocket Architecture: By framing recessed ceiling pockets above large spans of glass during the earlier rough carpentry phase, specialized shade hardware can be kept completely concealed when rolled open, maintaining a sleek, modern aesthetic.
Grading Site Topography and Exterior Living Extensions

With the interior approaching completion, the final major phase of a full renovation shifts back outside to the surrounding property topography. The way the earth is shaped around the newly fortified foundation directly impacts the longevity of the entire structure. If heavy stormwater and melting snow are allowed to pool against the base of the house, hydrostatic pressure will eventually force that moisture through microscopic cracks in the foundation, leading to flooded basements, mold growth, and compromised footings.
To permanently manage bulk water outside the foundation, homeowners must coordinate with specialized hardscape services to establish and engineer a minimum two-percent grade slope that aggressively directs all surface runoff away from the foundation walls and basement walkouts. This often requires heavy excavation equipment to reshape the land, cut swales, and build robust retaining systems. Beyond just water management, extending the living space outdoors requires the same level of structural discipline as building an indoor room, relying on heavily compacted sub-bases to ensure that sprawling stone terraces remain perfectly flat for decades without shifting.
- Integrating Subsurface Drainage Solutions: Deep trenching is required to install perforated French drains, permeable paver sub-systems, and heavy-duty catch basins that are connected directly to the roof downspouts to handle torrential seasonal downpours.
- Structural Base Compaction: Before any decorative stone is laid, the earth must be excavated below the regional frost depth, lined with commercial-grade geotextile fabric, and filled with dense graded aggregate to completely stop the aggressive cycle of ground heave.
- Building Resilient Outdoor Living Spaces: Multi-tier retaining walls, natural stone terraces, and outdoor kitchen footings must be built independently so they do not shift, drag, or settle against the primary house foundation over time.
- Aligning Exterior Thresholds: Through careful grade calculations, exterior terrace heights can be set perfectly flush with indoor patio door sills, creating clean, highly accessible indoor-outdoor transitions without compromising the structure’s critical waterproofing barriers.
Executing a home renovation requires a disciplined management approach to manage the coordination between subcontracting teams. Establishing clear milestone inspections and adhering to detailed punch lists ensures each phase of the build meets quality standards before the next trade begins. Managing the financial leverage—such as withholding final retainage payments until all certificates of occupancy and inspections are granted and passed—is essential for maintaining the schedule.
As the project nears completion, implementing strict site protection protocols is crucial. Wrapping finished surfaces, using industrial air scrubbers during paint touch-ups, and restricting site access prevents last-minute damage. Hiring specialized craftsmen instead of generalists protects a homeowner’s equity. Properly sequencing skilled professionals minimizes warranty call-backs, eliminates premature repairs, and ensures the renovated property remains structurally sound, efficient, and resilient for generations.